How to Simplify Online Store Setup With a Website Builder

A step-by-step approach to launching an online store with less setup friction, by choosing a website builder that handles the core e-commerce integrations for you.

Setting up an online store doesn't have to mean learning payment processing, shipping zones, and tax rules from scratch. The businesses that get a store live quickly aren't skipping steps — they're using a website builder that handles most of the setup automatically, so the remaining work is a short review instead of a long build. Here's the step-by-step version.
Quick answer: the fastest path to a simple store setup is picking a website builder that generates your catalog, checkout, and design together, rather than one that requires you to configure products, payments, shipping, and tax as separate, disconnected steps. Everything below assumes that starting point.
Step 1: Start from your real business data, not a blank template
Before touching store settings, get the basics right: business name, category, and what you actually sell. If your builder can pull this from an existing source — a Google Business listing, an existing product list — use that instead of typing everything in from scratch. InMinutes does this automatically: type your business name and city, and it pulls your real details and generates a site around them, ready for a store to be added on top.
Step 2: Let the builder generate your product catalog instead of entering it manually
Manual product entry — name, description, price, photos, for every item — is where most store setups stall out. Look for a builder that can generate descriptions and structure for your catalog rather than requiring blank-field entry for each product. It turns catalog setup from an hours-long task into a short review-and-edit pass.
Step 3: Choose a builder with built-in checkout, not a bolted-on payment app
Connecting a separate payment processor is one of the more confusing parts of traditional store setup — verification steps, external dashboards, and settings that don't match the vocabulary of the website builder itself. A builder with checkout generated as part of the store avoids that disconnect entirely: there's one system, not two.
Step 4: Check the fee structure before you commit, not after your first sale
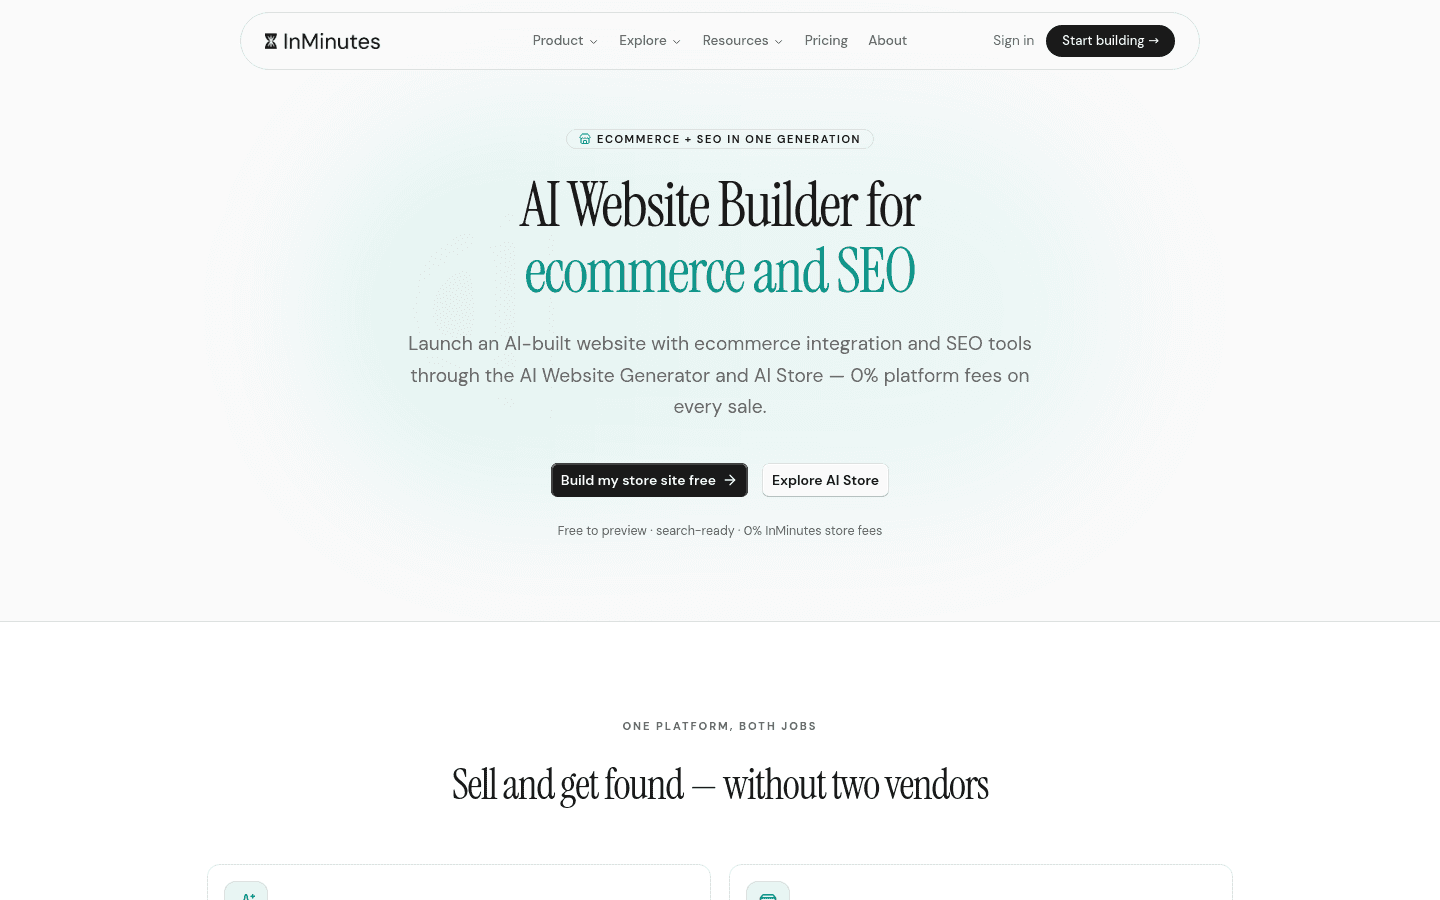
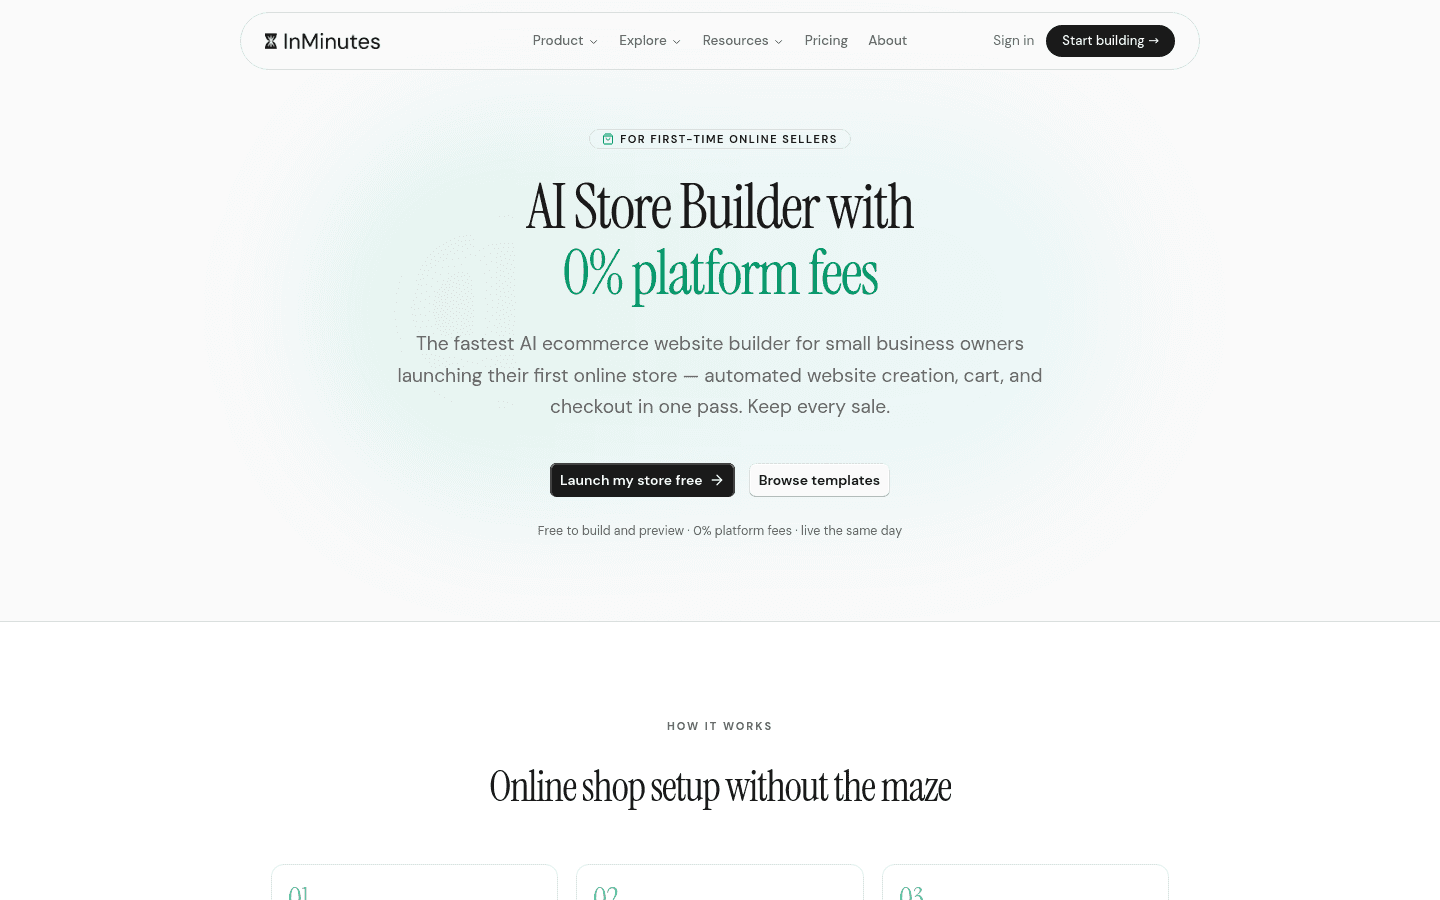
Read the fee structure before you build anything. Many platforms charge a percentage of every sale in addition to a monthly subscription — a cost that's easy to overlook during setup and adds up fast once the store is active. InMinutes charges 0% platform transaction fees on its built-in store, which is included on the Pro plan, so there's no fee to discover later.
Step 5: Use sensible defaults for shipping and tax, then adjust
Don't try to configure shipping zones and tax rules from a blank slate — start from reasonable defaults and adjust only what's specific to your business (a local delivery radius, a specific tax jurisdiction). Building these rules from scratch is where most setup mistakes happen; adjusting a working baseline is far safer.
Step 6: Make sure the store matches the rest of your site automatically
If your store is a separate app, you'll likely need to manually match fonts, colors, and layout so it doesn't feel like a different product bolted onto your homepage. A builder that generates the store in the same design system as the rest of the site skips this step — there's nothing to match because it was never separate.
Step 7: Handle future changes by describing them, not rebuilding settings
Once the store is live, ongoing changes — adding a product, running a seasonal discount, updating a shipping rule — shouldn't require re-opening a configuration wizard. A chat-to-edit workflow ("add a 10% discount code for the weekend," "add this new product with these photos") is faster and less error-prone than digging back through settings pages.
Online store creation checklist
| Step | Manual approach | Simplified approach |
|---|---|---|
| Business details | Type everything in from scratch | Pulled from your real business data |
| Product catalog | Enter each product manually | AI-generated catalog and descriptions |
| Payments | Separate processor, external setup | Built-in checkout |
| Fees | Discovered after first sale | Checked upfront — look for 0% |
| Shipping / tax | Configured from scratch | Sensible defaults, adjust as needed |
| Design | Manually match to the rest of the site | Generated in the same design system |
| Updates | Re-open settings each time | Described in chat |
E-commerce integration, simplified
The theme across all seven steps: simplifying store setup isn't about skipping work, it's about not doing work that a generator can do more accurately and faster than a manual process. InMinutes builds this in end to end — the store is generated with the rest of the site from your real business data, checkout and design are already integrated, and ongoing changes happen through chat instead of a settings dashboard.
FAQ
The bottom line
A simple online store setup isn't about doing less — it's about letting a builder that already knows how to configure catalog, checkout, shipping, and design do that work for you, so your part is a short review instead of a long build. Set up your store free with InMinutes →